The Terminal #
Switching to a plain text workflow requires that you adjust the way you interact with your computer. Rather than pointing and clicking and navigating through different windows we will be using what is a primitive technology in computing: the Terminal. It was once the case that all interactions with a computer were done with nothing more than a keyboard, not even a mouse. Of course computing has come a long way and most of your interactions with your computer take place with a mouse, touch pad, or touch screen, and it can be intimidating to approach the terminal.
Using the terminal has some distinct advantages over navigating through the file explorer that comes with your operating system and will help to get you familiar with how to control the software we will be working with. For one, the terminal is actually quite easy to use and straight forward after learning just a few basic principles. Further, navigating your computer with the terminal helps to instruct you in the file structure upon which the programs you interact with relies. Understand this file structure will then help you to both organize your project and typeset documents. Here I will provide a quick tutorial on how to use the terminal with some of the most basic and essential commands.
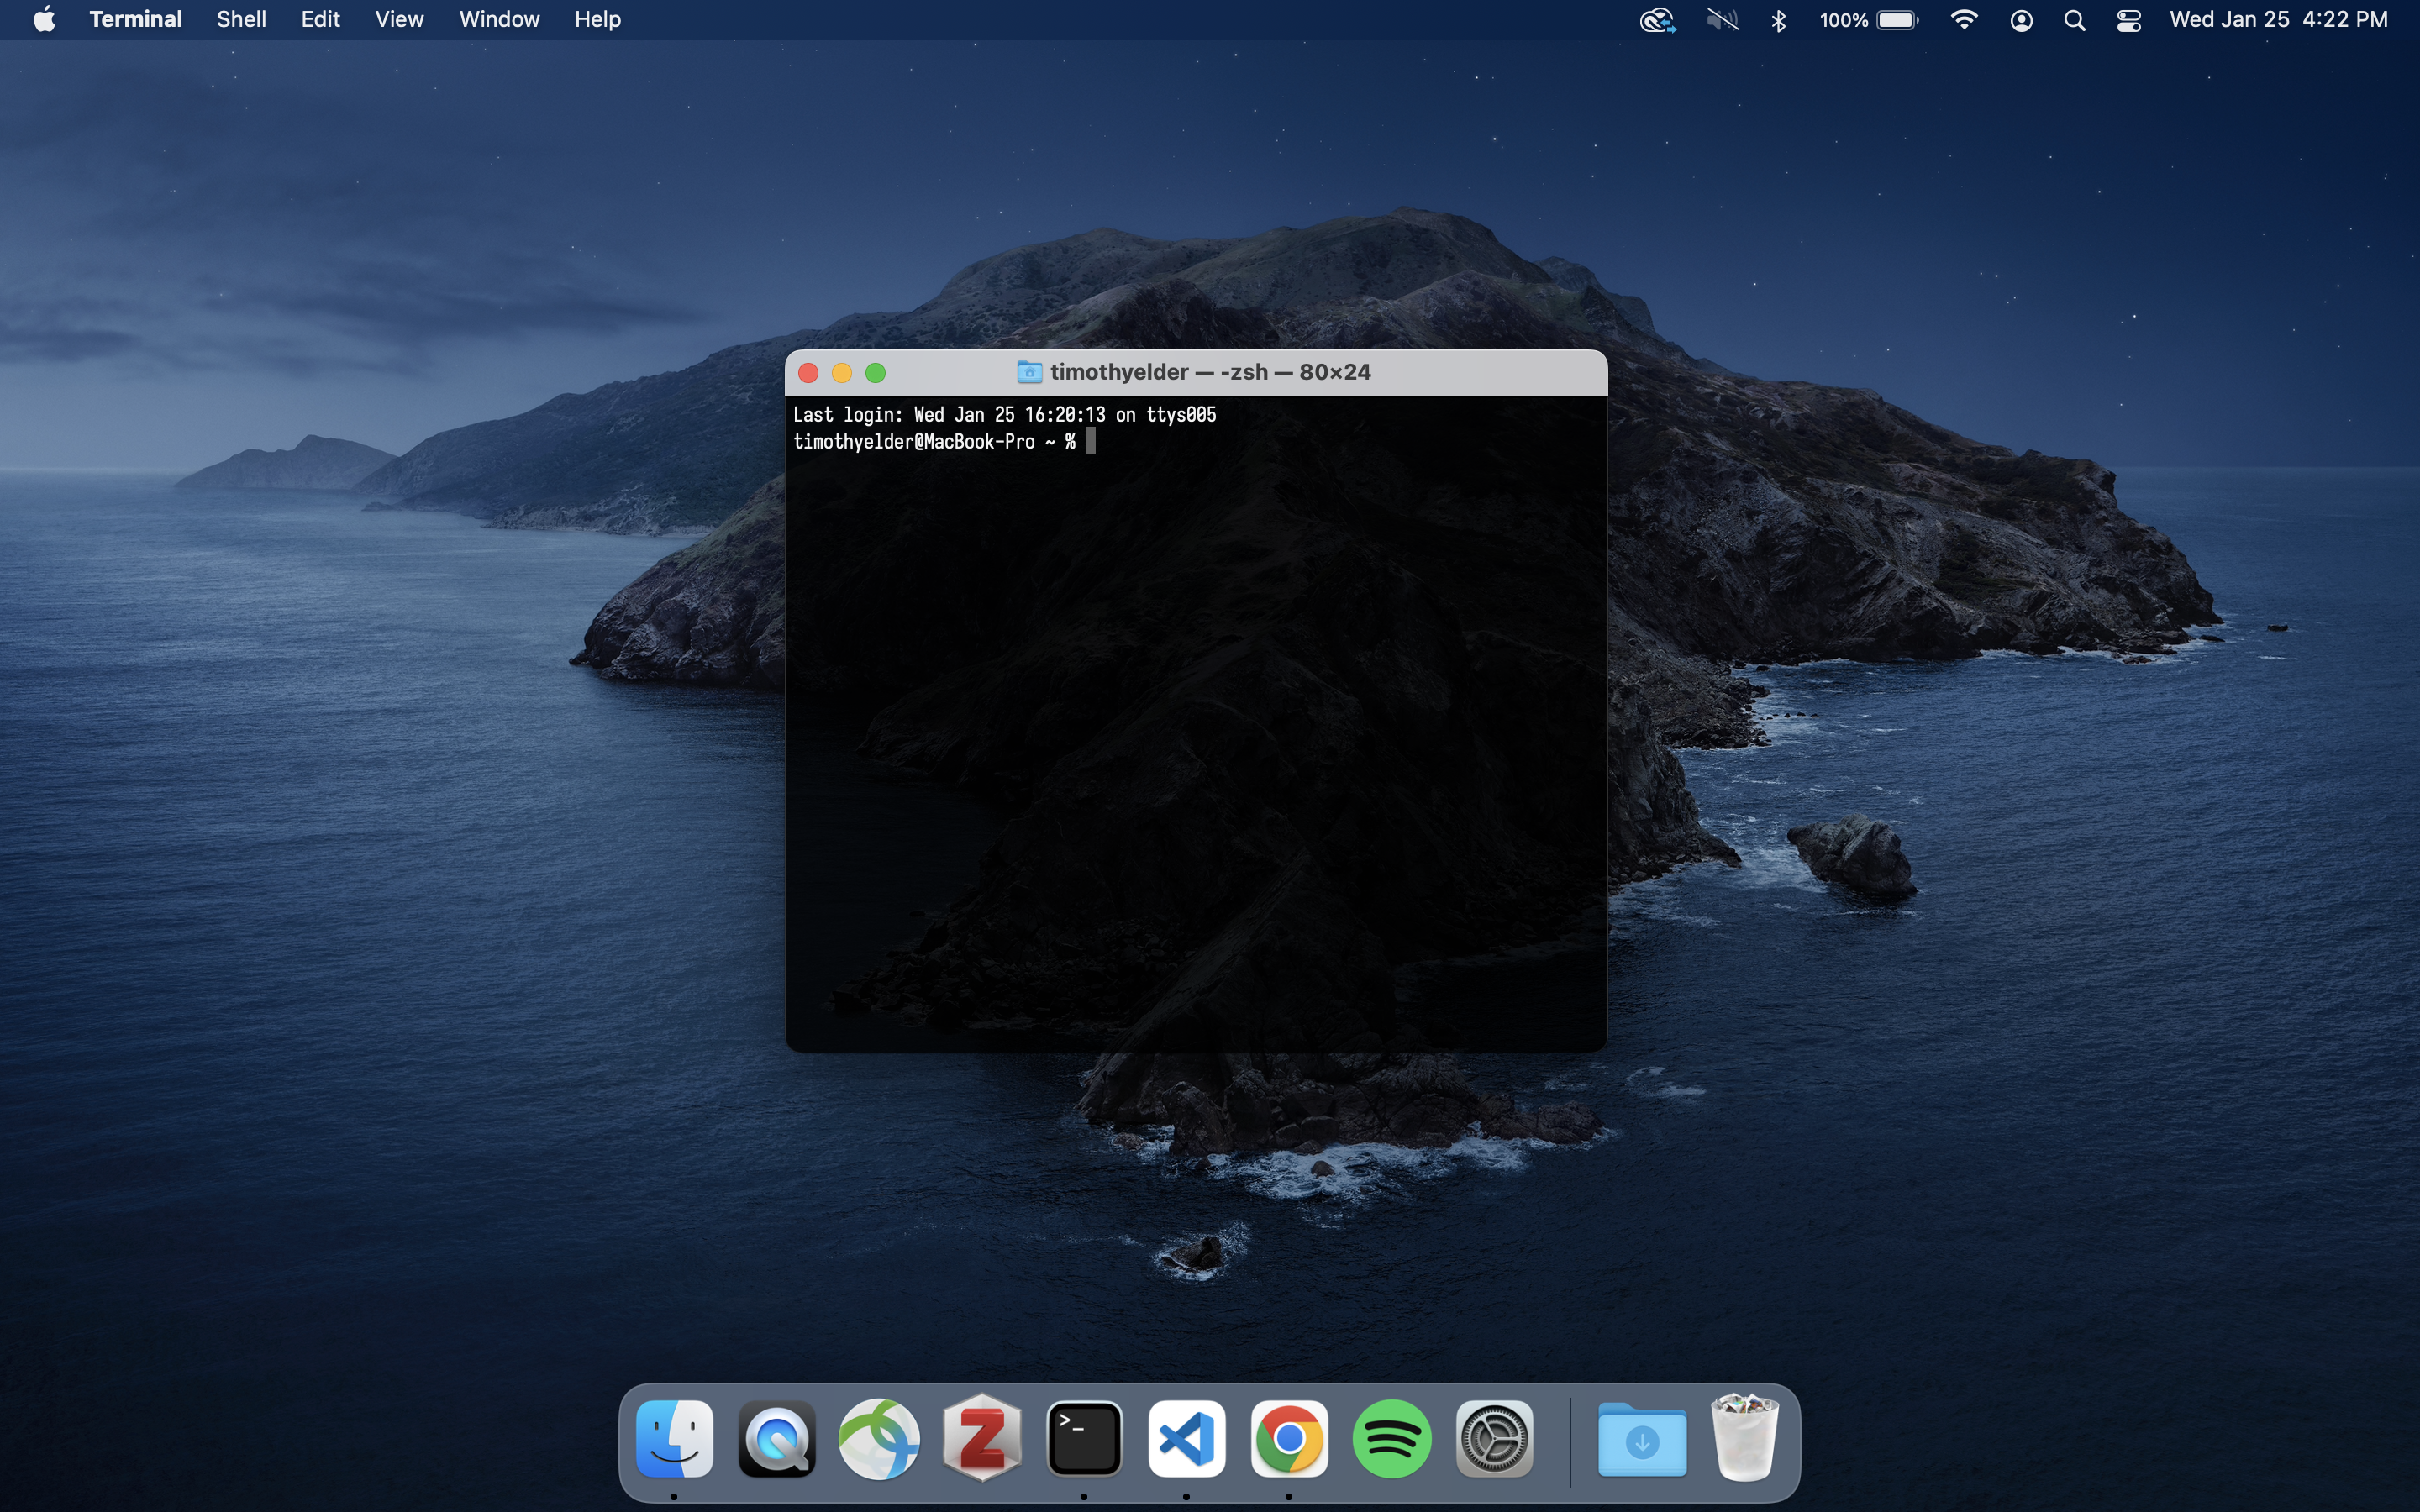
Figure 1: The Terminal in macOS
Windows and macOS use different kinds of terminals, and even in macOS there are slightly different versions of the same terminal. This means that you will have to learn commands for your operating system. Also, they are called slightly different things. On Windows it is called “Command Prompt” and there is a specific program called PowerShell. Don’t use PowerShell, use Command Prompt, sometimes referred to as CMD which can be found in the “Accessories” part of the Start Menu. On macOS you will find the terminal under “Other” in your Launchpad. Once you have found it and launched it, you’ll have something on your screen that looks like Figure 1. Here is a table with commands across operating systems:
| Windows CMD | Task | macOS Terminal |
|---|---|---|
dir |
List files and folders | ls |
cd |
Full path of current folder/directory | pwd |
cd <path to directory> |
Change folder/directory | cd <path to directory> |
cd .. |
One directory up in directory tree | cd .. |
mkdir newFolder |
Create new directory in current directory | mkdir myFolder |
rmdir myFolder |
Remove a directory* | rmdir myFolder |
ren oldFolderName newFolderName |
Rename a directory | mv oldFolderName newFolderName |
robocopy myFolder <path to destination directory> |
Copy a directory | cp -r myFolder <path to destination directory> |
move myFolder <path to destination directory> |
Move a directory | mv myFolder <path to destination directory> |
ren oldFileName newFileName |
Rename a file | mv oldFileName newFileName |
copy myFile <path to destination directory> |
Copy a file | cp myFile <path to destination directory> |
move myFile <path to destination directory> |
Move a file | mv myFile <path to destination directory> |
cls |
Clear the terminal screen | clear |
Table: Equivalent commands for the terminal in Windows and macOS.
A Short Tutorial #
Windows Users
This tutorial includes some instruction on using the command line text editorvim. Windows doesn’t havevimpreinstalled so to follow along you’ll have to install it yourself. Instructions for doing so are available in the Helper section of this site.
When working in the terminal you will be dealing with Files and Directories. A directory is what is usually called a “folder”, a container for files. A file is the basic unit for holding data in your computer. A file is the thing that you typically open with your cursor (like a text file, Word document or an image file) by double clicking on it. We will be dealing with programs on the terminal but not in the way you are familiar. We will get there eventually, but just remember files go in directories and directories can themselves have sub-directories with files in them. This is the hierarchical folder structure that is ubiquitous in computing.
With the terminal open go ahead and type in ls and hit Enter. In macOS you should see something like this print out:
(base) MacBook-Pro:~ timothyelder$ ls
Applications
Desktop
Documents
Downloads
Library
Movies
Music
Pictures
Public
The ls or “list’ command in macOS lists the contents of the current directory you are in. To determine which directory you are in type in pwd and hit Enter.
(base) MacBook-Pro:~ timothyelder$ pwd
/Users/timothyelder
pwd stands for “present working directory” and prints out the path to the directory you are in. The “working directory” just means whatever directory your terminal is open in. On macOS, whenever you open a terminal it automatically opens in what is known as your “Home” directory which has the files that appear on your Desktop, in your Documents directory and other directories associated with Videos, Music, etc.. A path is the generic way of referring to the address of a directory or file on your computer. Let’s start to navigate your computer and manipulate directories and files from the terminal.
To navigate to another directory from your working directory use the cd or “change directory” command and specify which other directory you want to change to. Let’s change to the Documents directory by typing in cd /Users/timothyelder/Documents. This is the path for me, as my user name on my machine is “timothyelder”, so you’ll have to use your username or whatever is in the path when you use the pwd command. After using the cd command to get to the Documents directory let’s create a sub-directory there to store the files related to the PlainText Working Group. To do this you will use the mkdir or make directory command. Type mkdir plaintext into the terminal and hit Enter. Check to see that the new directory has been made by typing in ls again and see that the directory has been made.
Now, when using the cd command (or any other command that takes in a path as an argument) you can use either absolute or relative paths to specify where you want to go or what file or directory you are specifying. An absolute path uses the full amount of information to describe the address of the file or directory you are referring to (think of them as latitude and longitude), such as /Users/timothyelder/Documents/plaintext. That is the absolute path of the plaintext directory. Using the absolute path makes everything explicit, but takes up a lot of time when you have to type it in over and over again into the terminal. To save yourself time you can use a relative path which is relative to wherever your terminal is open on your computer (think of these as generic indexical directions, “around the corner”, “take a left at the light”, or “across from the 7/11”). For instance, if you did the last set of instructions correctly, you created a directory called plaintext in the Documents directory and we noted the absolute path above. The plaintext directory is immediately accessible to the Documents directory because the former is a sub-directory of the latter, so simply typing in cd plaintext will move your terminal into the plaintext directory.
Go ahead and cd into the plaintext directory and type ls again. As you’ll see, nothing is printed out from the list command because it is a brand new directory with no files or subdirectories. Next thing to do is to create an example text file. To do this we are going to use a built-in text editor to create a new file using the vim command. vim is an ancient text editor that is pretty much built into all machines that are based on UNIX which includes macOS and Linux. Into the terminal type vim my_text_file.txt. The command vim is used to open a text editor in your terminal and you have just used it to open a file called my_text_file.txt, and because the file doesn’t yet exist, you are creating it at the same time. This can be very confusing because it looks like an empty terminal window, as can be seen in Figure 2.
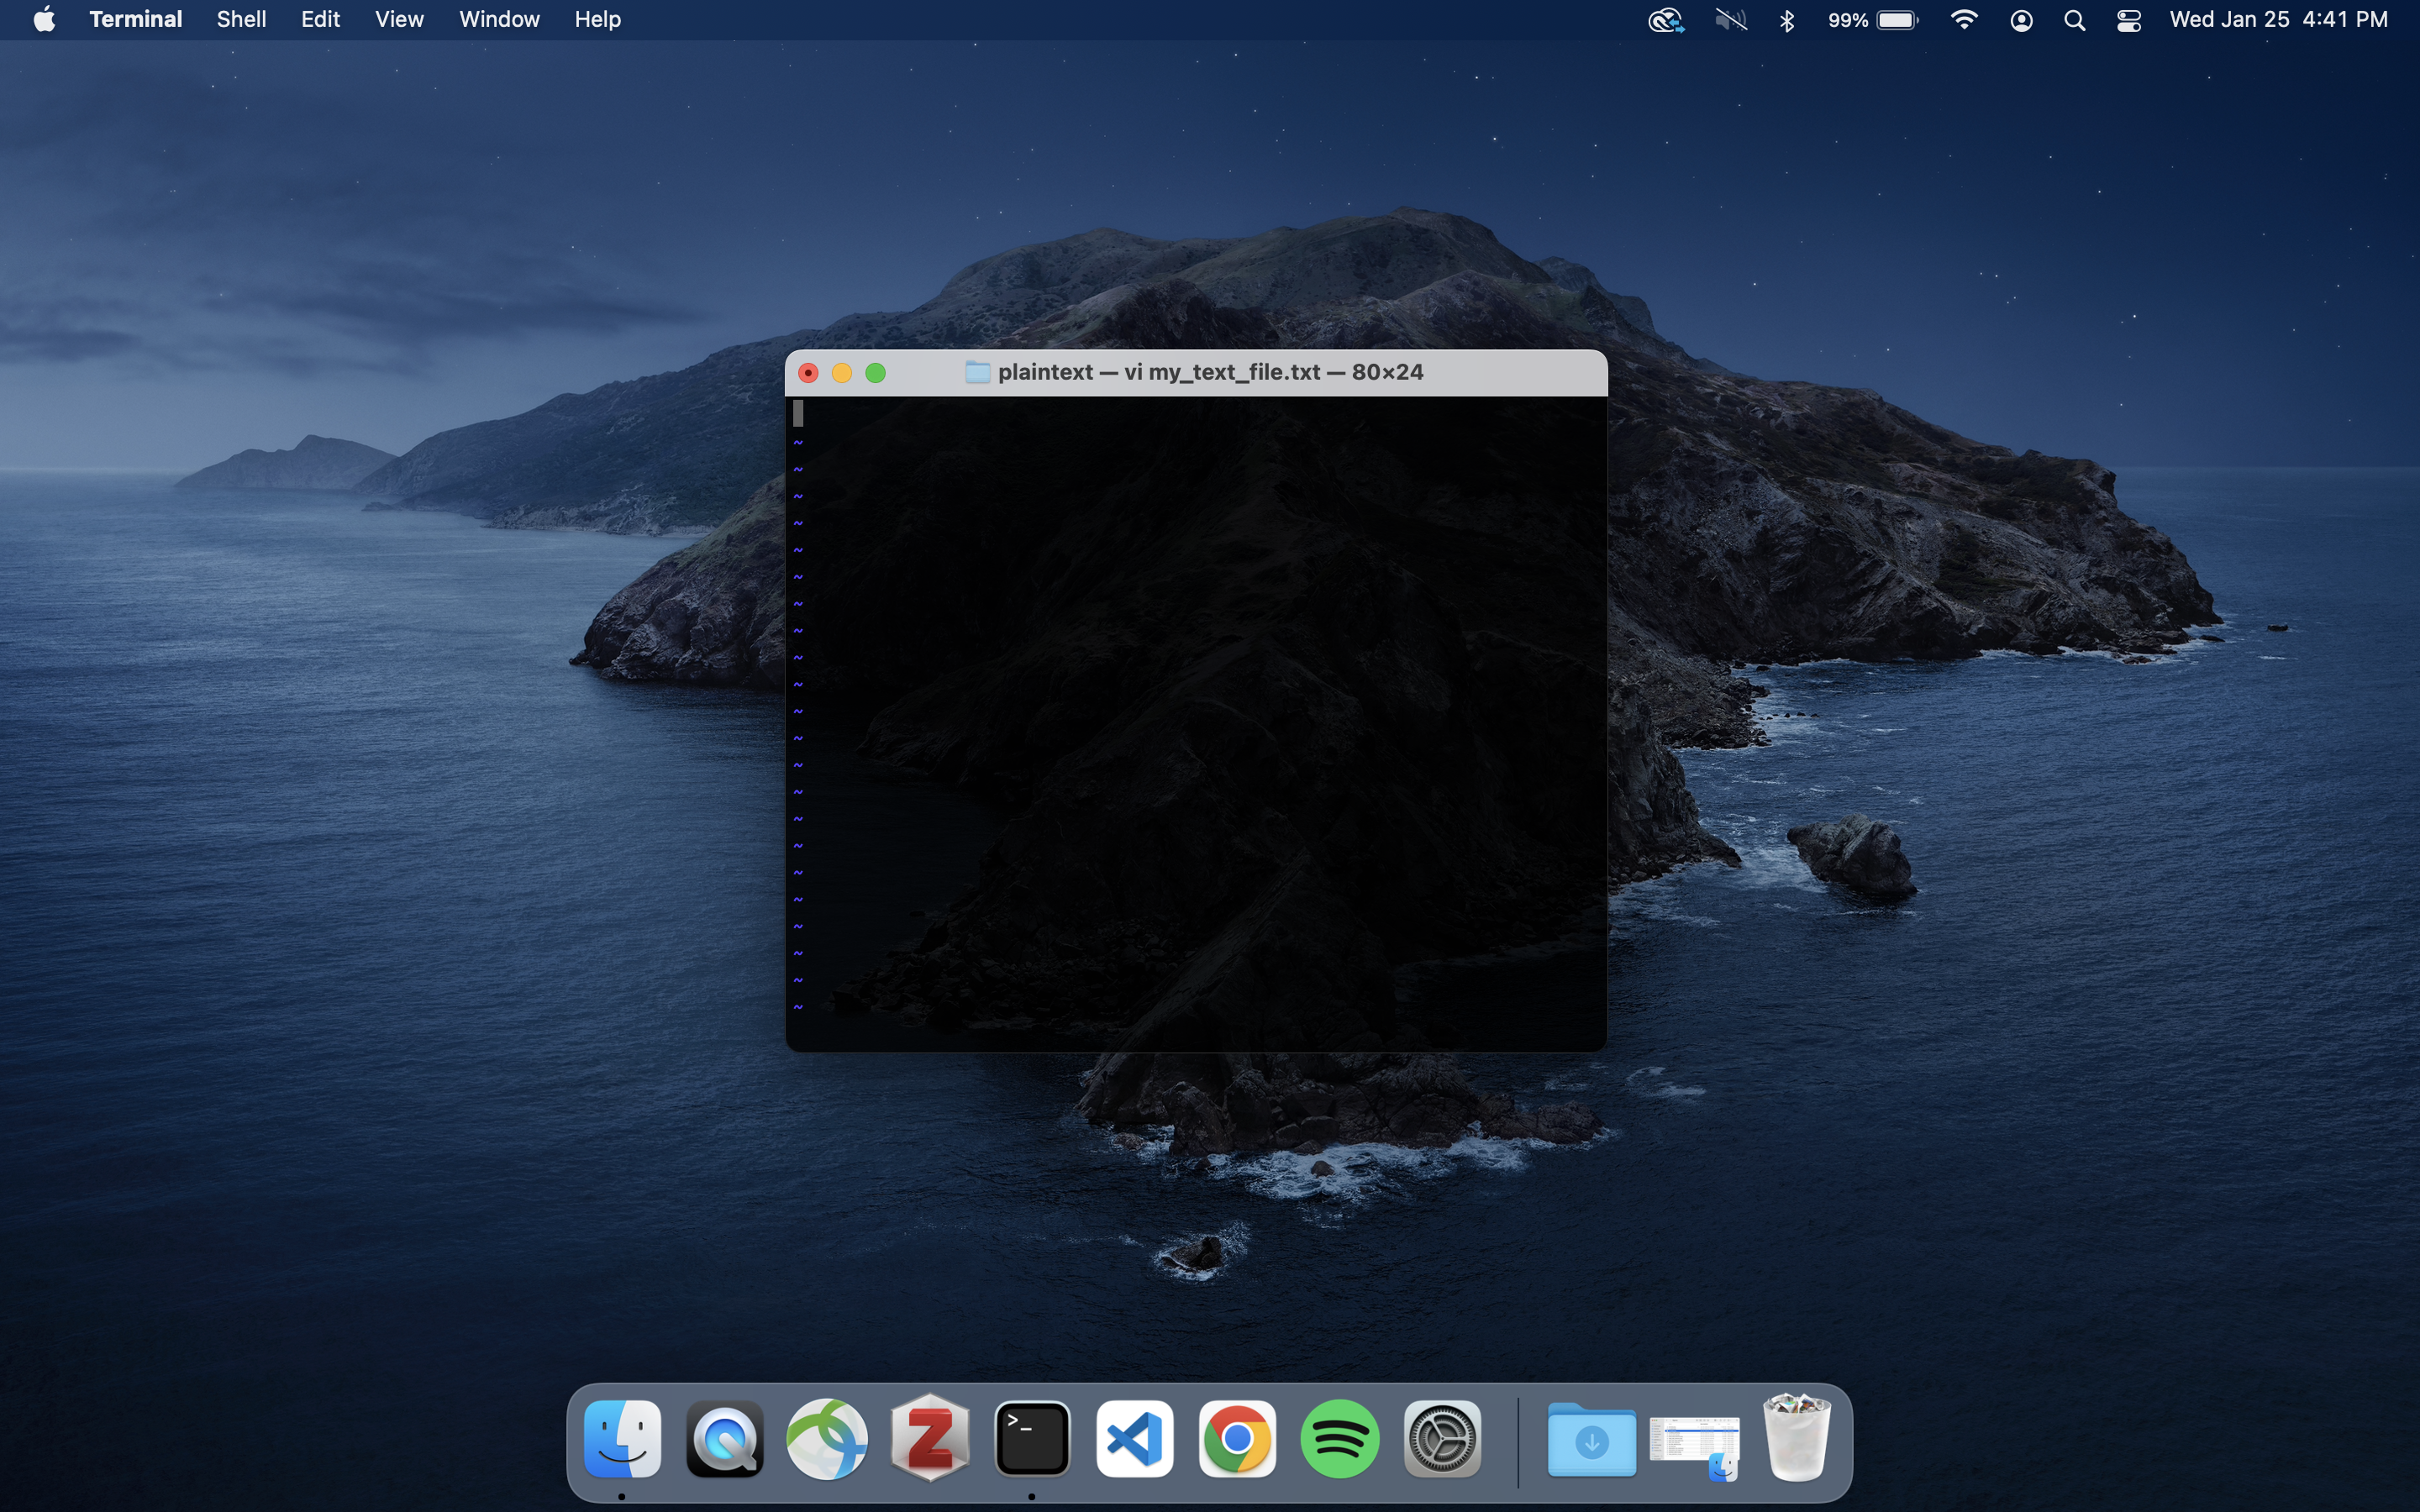
Figure 2: An instance of an empty file opened with `vim`
The terminal is now open in an empty text file, and if you start tapping away at your keyboard nothing will happen, which is also pretty mysterious behavior. To edit the file and add content you need to press the i key on your keyboard. This activates “insert” mode in the vim text editor meaning you can actually type in the window and put content into the file. This will look like Figure 3. Type in “Hello World!” then hit the esc or escape key on your keyboard and you will exit the insert mode, then type in :wq (that is hit Shift - ; and then type wq). Typing in wq means “write-quit” which is “write the file contents to memory and exit the editor”. To exit without saving use :q! instead of :wq. Once back to the normal terminal type in ls to check that the file is there, and then type in cat my_text_file.txt and the file contents will print out. The cat command (besides being a cute reminder of our Feline friends) stands for “concatenate and print file contents” and allows you inspect plain text files from the command line.

Figure 3: Insert mode in `vim`
Though we are not going to be using vim extensively it is good to know how to use it, particularly considering how disorienting it can be when a program pops you into a vim terminal and you’ve never seen one before. All digital writing was once conducted in things like vim, and other text editors, a class of programs that allows the user to create and edit plain text data. You could do nearly everything we are going to do in the working group with vim or an equivalent terminal based text editor. You could write a whole book in it if you wanted, or the documentation that you are looking at now (see Figure 4).
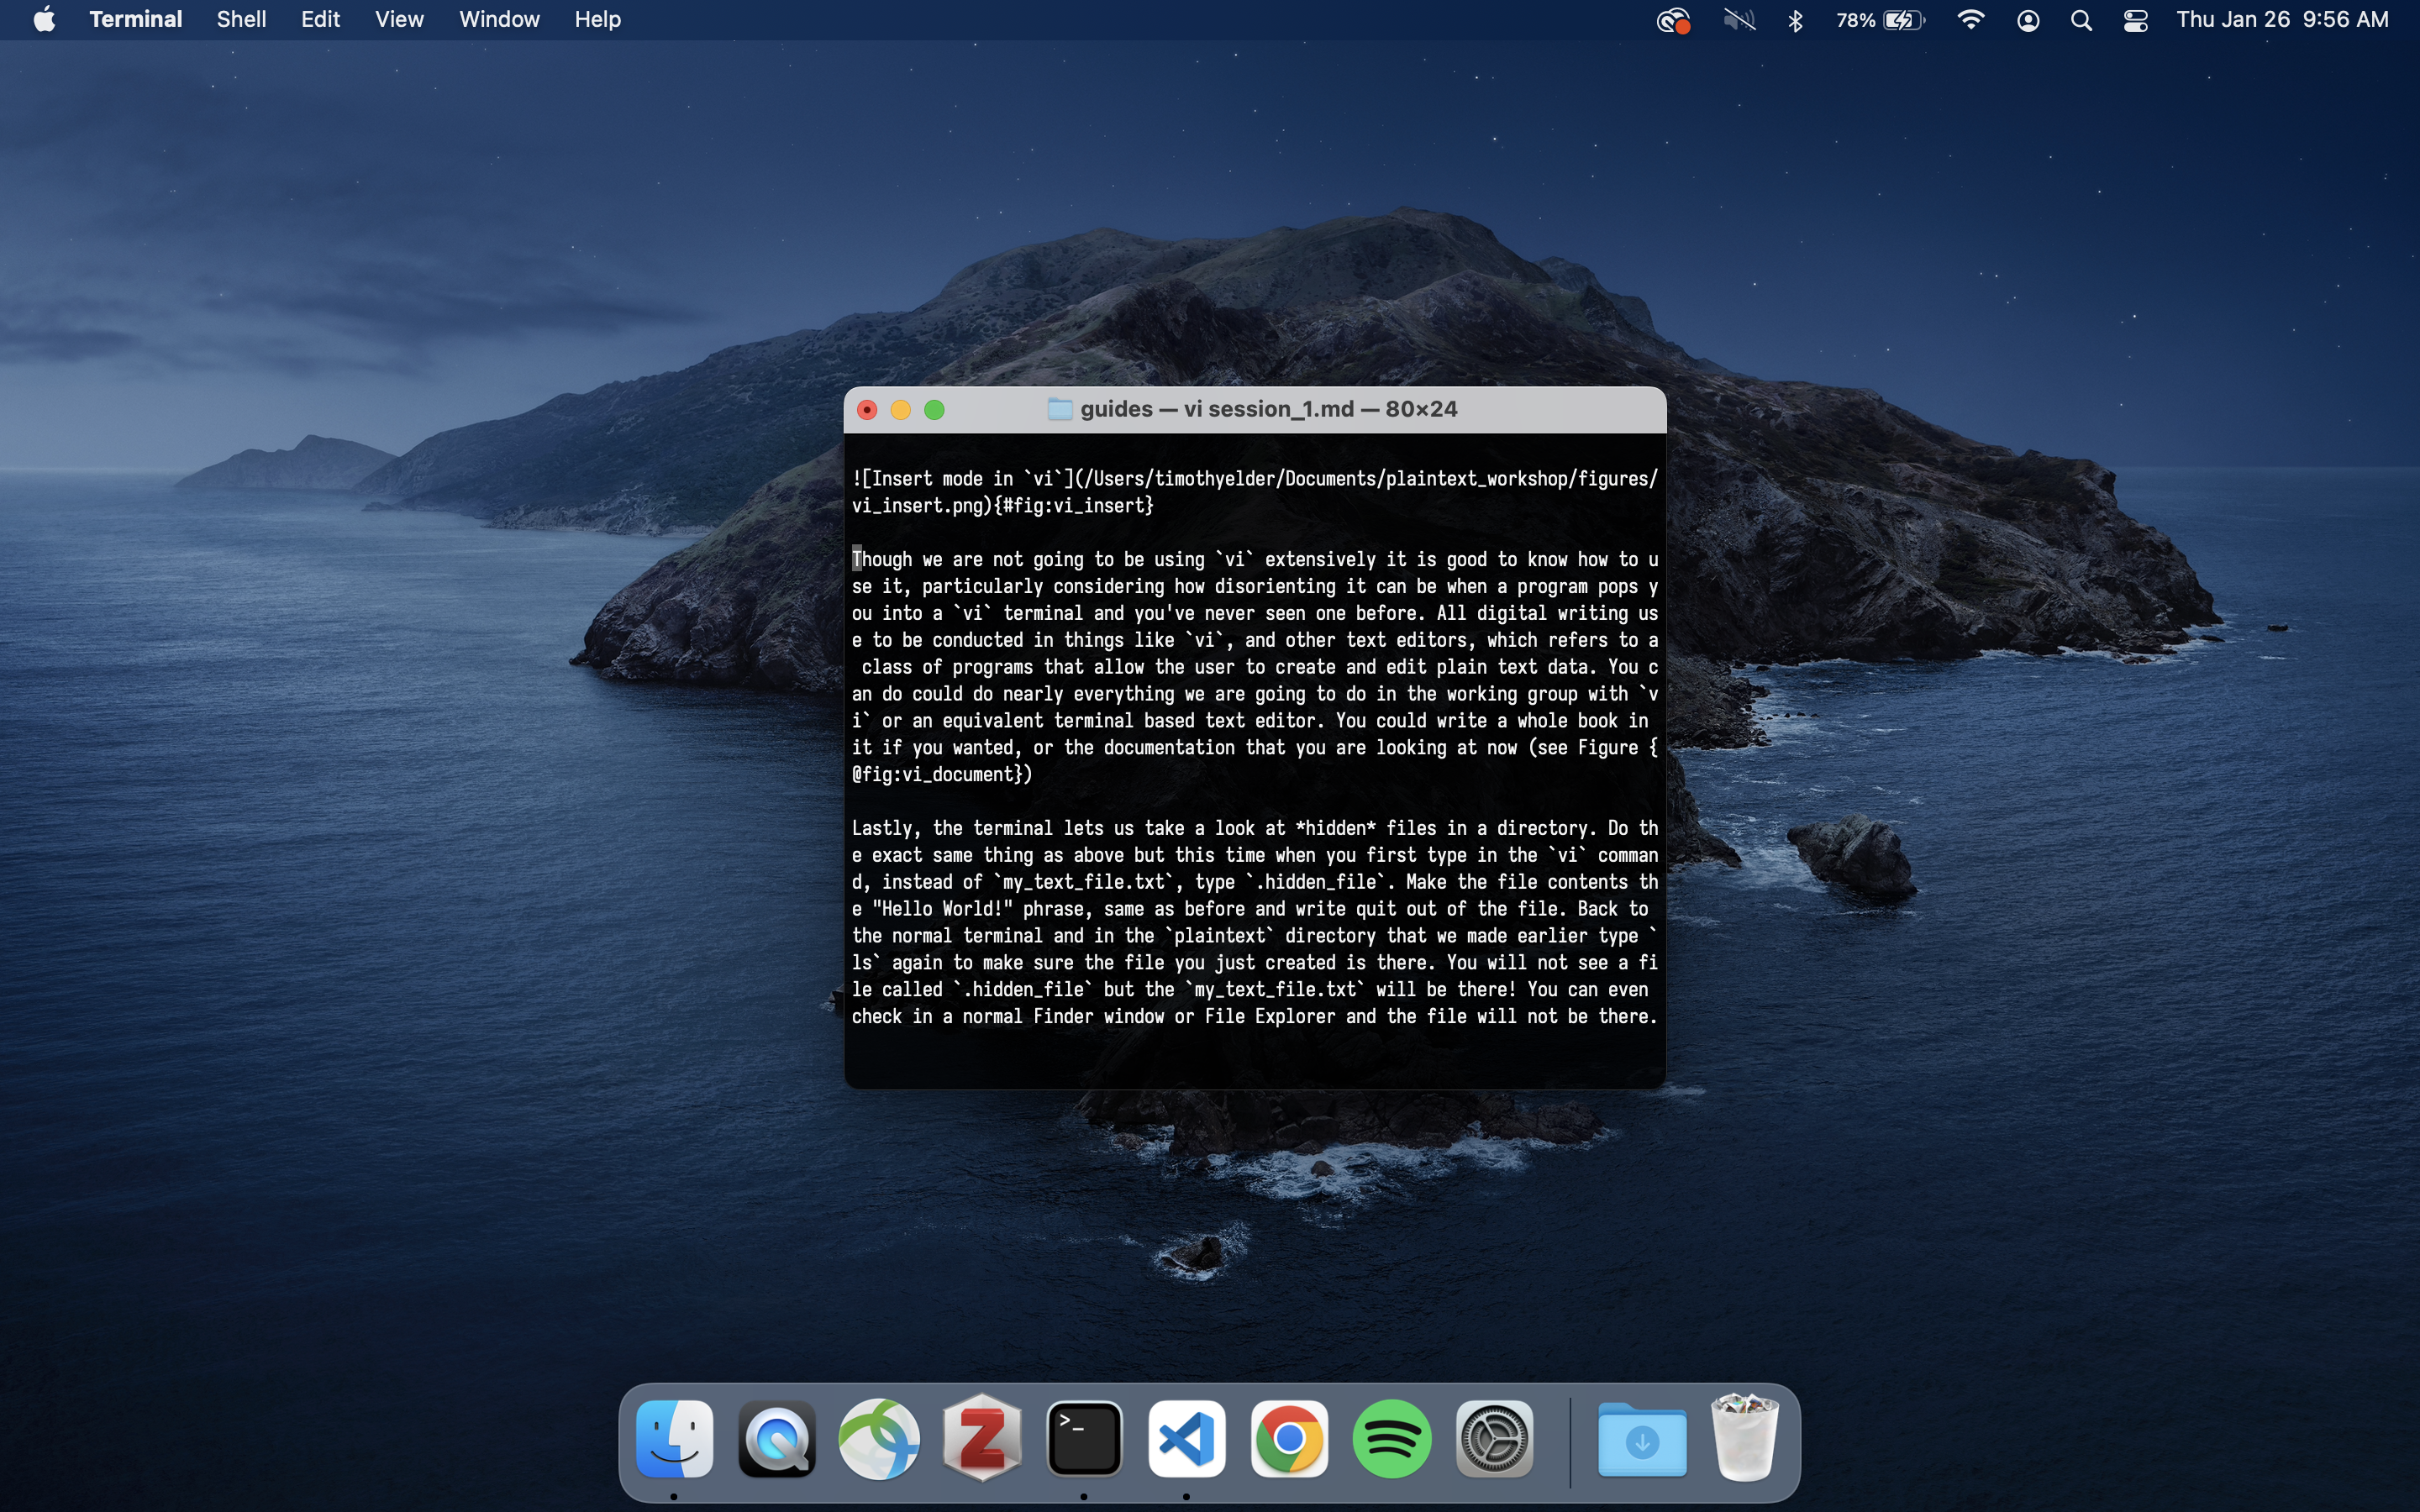
Figure 4: Composing this documentation in `vim`
Lastly, the terminal lets us take a look at hidden files in a directory. Do the exact same thing as you did above (where you created a text file called my_text_file.txt with “Hello World!” inside it) but this time when you first type in the vim command, instead of my_text_file.txt, type .hidden_file. Make the file contents the “Hello World!” phrase, same as before and write quit out of the file. Back at the normal terminal type ls again to make sure the file you just created is there. Curiously, you will not see a file called .hidden_file but the my_text_file.txt will be there! You can even check in a normal Finder window or File Explorer and the file will not be there.
(base) MacBook-Pro:plaintext timothyelder$ ls
my_text_file.txt
This is because files that begin with a period are hidden and do not appear without using a special flag or option for the ls command. Typing in ls -a will printout all the files in the directory, even hidden ones.
(base) MacBook-Pro:plaintext timothyelder$ ls -a
.			 .hidden_file
..		 my_text_file.txt
There is nothing special about any given directory that you can navigate to on your computer. They are all generic containers that store generic files and so you can take what you have applied here and move up and down the directory tree, listing out the files and creating files as you please.
A Few Helpful Hints and A Warning #
When using the terminal if you ever need help with a command you can look up what’s called a man page, or manual page simply by typing in man <command of interest>. So if you want to read about everything the ls or cd commands can do simply type in man ls or man cd and the terminal prints out information that you can navigate through with the directional keys. If you need to exit a man page hit the q key on your keyboard.
Windows Users
Usehelpinstead ofman
Also, for the cd command, you can navigate into the parent directory of your working directory by typing in cd ... For example, above we created a sub-directory called plaintext in our Documents directory with two files in it. If you were in the plaintext directory and typed cd .. that would take you one level up to the Documents directory. Doing the cd .. command one more time takes you up another level into your home directory where we started out.
Warning
When you delete things on the terminal, be certain you won’t ever need them again.
Lastly, the terminal is intimidating but hopefully some of its mystery has been resolved now that you can navigate around it, list files out and make them all from the terminal. But, the terminal was made by computer scientists and engineers who were very technically capable and knew what they were doing, so when they typed in a command they knew what it meant and what it would do. Sometimes we can get ourselves into trouble on the terminal because we are not computer scientists and engineers and we don’t always know what we are doing. For example, the rm and del commands (in macOS and Windows respectively) delete files, and when you run them they don’t ask you to confirm that you really want to delete the file only_copy_of_my_thesis_do_not_delete_no_backups.tex and it doesn’t go to the Trash folder for you to restore it later. It just gets
deleted. So use caution on the terminal but for the most part you can’t get into too much trouble.