Installing vim on Windows
#
vim is a command line based text editor that we are going to be using for doing quick edits to files. Unfortunately, Windows does not come with it pre-installed like it is on macOS and Linux so Windows users should do the following steps to make sure you can use vim during our first session.
-
Download the following installer.
-
Open the downloaded file.
-
Accept the User Agreement.
-
On the next window (“Choose Components”) make sure to select the “Custom” install type from the dropdown menu and that the “Vim Console Program”, “Create .bat files” and “Create Default Config” options are selected with checkboxes.

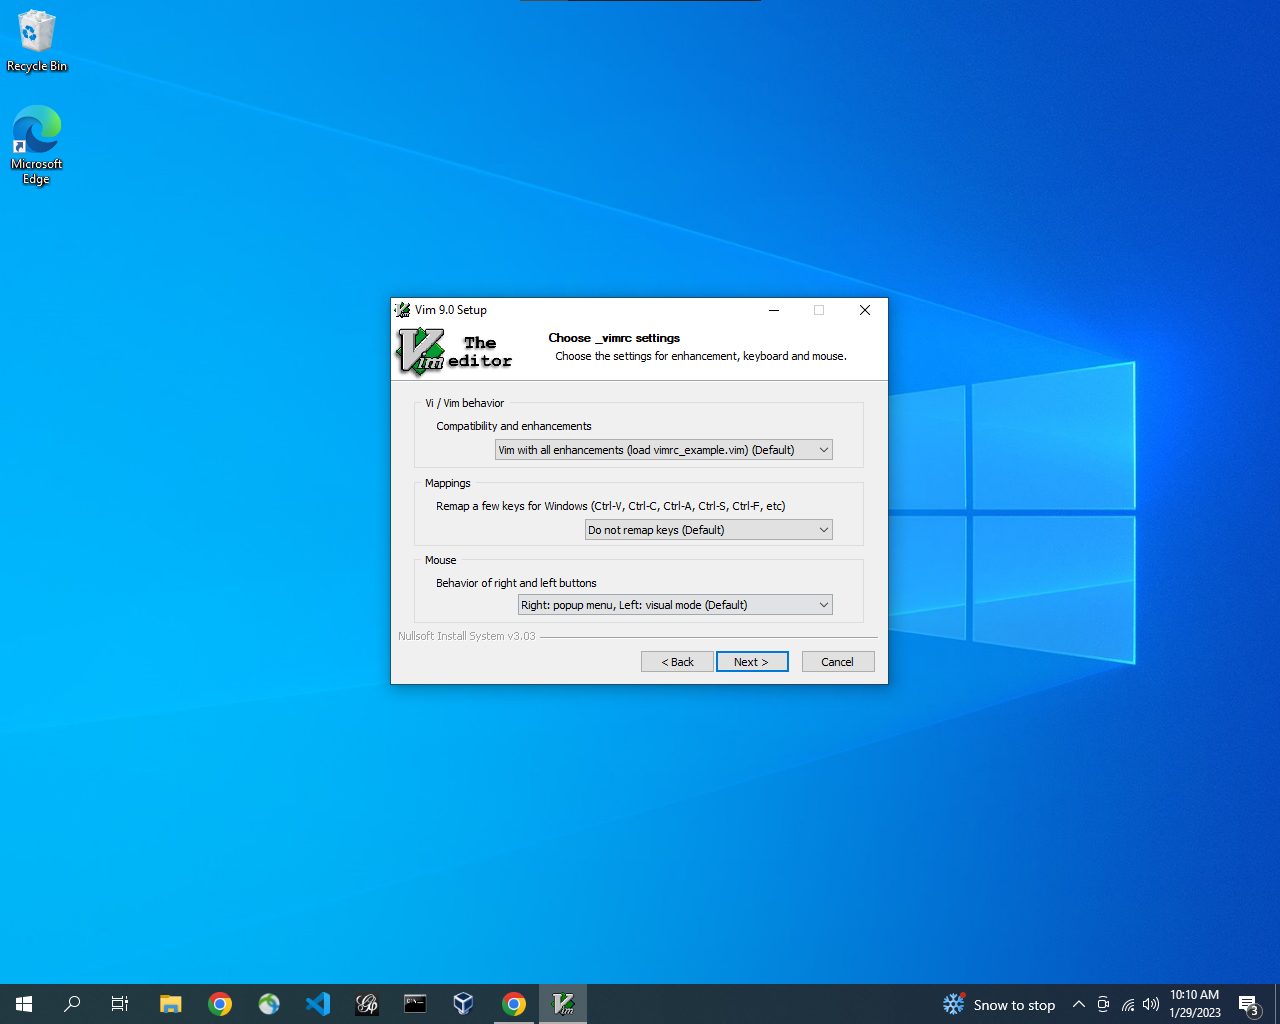
- Leave the next window (“Choose _vimrc settings”) as it is.
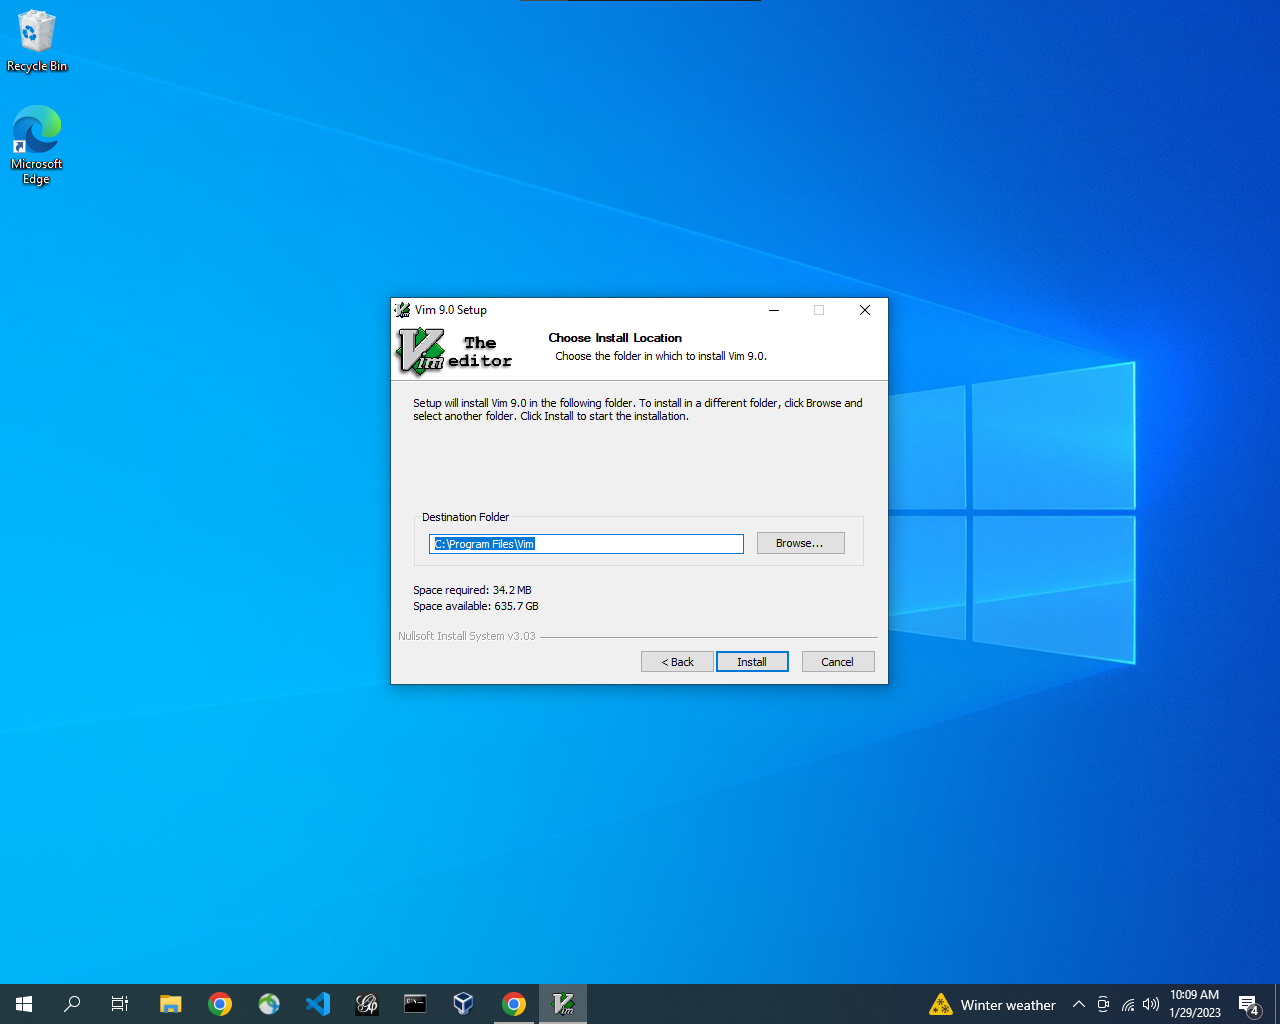
- Hit “Install” on the last window and the program will install.